The Crypt - Lighting Demo
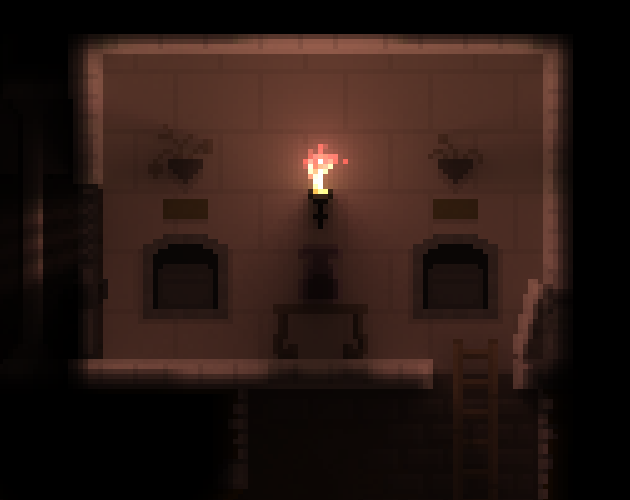
This is a prototype for a 2D Global Illumination engine, made in Unity. It shows a spooky ambient graveyard with an underground crypt, filled with different props and lighting effects to test out the engine.
Controls:
- Press numbers 1-9 to visit different scene setups
- Left Click on elements to interact with them
- Left Click on the sky and drag to control brightness and time of day
- Right Click to cast light where the mouse is
- Tab to bring up the debug menu to tweak various options
Running on a relatively powerful GPU recommended, press Tab and turn down the Ray Count if you are experiencing framerate issues.
Renderer Features:
- Every pixel can cast and receive lighting
- Works with regular Sprite Renderers and BiRP, very easy to integrate.
- Bounce-lighting, light that is cast onto surface pixels will re-emit, tinted by the surface color
- Transparent-emissive materials, which emit light but don't cast shadows. Useful for particle effects like fire
- Partial-shadowing pixels which occlude only a percent of light. Useful for creating depth in the scene
- Lighting directionality is calculated per pixel, allowing normal maps to be used for increased fidelity
- Fully dynamic, no baking or setup required. Scene configuration change incurs no extra cost
Implementation Details:
Global Illumination can be prohibitively expensive for 3D games, but for low-resolution 2D games, GPUs are powerful enough nowadays that you can cast hundreds of rays per-pixel and still get full framerate. By default the demo casts 1000 rays per pixel, and the demo runs at a resolution of 320x240. The rays are accelerated by a distance-field, which is re-built each frame with the Jump Flood method.
Comments
Log in with itch.io to leave a comment.
I really like your approach, specifically including pixels that are only partially opaque/transparent. That usually gets added as an afterthought rather than directly in the first iteration of the lighting system, and I like that. Would you mind sharing a bit more about the coding behind it what you've done?
Thank you! The partially transparent pixels was a late addition to the engine, but I think it makes a BIG difference for the quality of the scene, so it's definitely something I will focus on getting right as I continue to tweak and optimize and try different methods.
The engine is a fairly simple approach, no fancy algorithms like Radiance Cascades for now. The only acceleration being done is building a distance-field of the scene so that the ray-marching can be accelerated.
There are a bunch of different write-ups on this technique, but this one is fairly good: https://samuelbigos.github.io/posts/2dgi1-2d-global-illumination-in-godot.html
I'm hoping to do a more detailed devlog to get into the weeds about some of the subtle points, but that is the basic idea.
Unfortunately this is very demanding to run considering the whole 1000 rays per pixel strategy. You'll also notice slightly awkward corner clipping.
I highly suggest you only cast rays to vertices of walls for performance saves (https://ncase.me/sight-and-light/). (note: you will need to make custom code to identify walls/corners from the normal map. You could also brute-force it and treat every single opaque pixel as a square wall with 4 vertices, and then when initially loading the map for the first time, determine which pixels aren't consecutively connected, so you can "delete" redundant pixel corner vertices. There probably is a better solution since your map has a decent amount of surfaces that aren't simply flat rows/columns, but has curves, which won't get removed "properly", but this will still save you from casting a few ten thousand rays.)
Since you are using a pixel-art setup, I highly recommend you check out the palette shading strategies used here: (https://www.lexaloffle.com/bbs/?tid=28785) (you may also want to use the techniques in their part 3 that also makes the lighting "cooler" with flickers/dithering)
Shooting rays only towards corners is an interesting idea! Unfortunately a big part of the lighting right now is from bounce lighting, which doesn't necessarily come from primary light sources like torches. You can actually see the impact of bounce-light if you open the dev UI with Tab and turn off Bounce light, it makes a big difference!
That being said, totally agree that the current cost is unacceptable! My approach in this case was to get something looking the way I wanted first, and then move on to optimization after. That way i have a good idea which features are important to keep, and a nice 'ground truth' renderer to compare against as I try to optimize.
Thank you for both links, I'll definitely dive in and investigate!